SNOO
How to Set Up SNOO
A step-by-step guide for unpacking your SNOO and setting it up for use.

Written by
Happiest Baby Staff
SHARE THIS ARTICLE
PARENT PICKS
Bestsellers
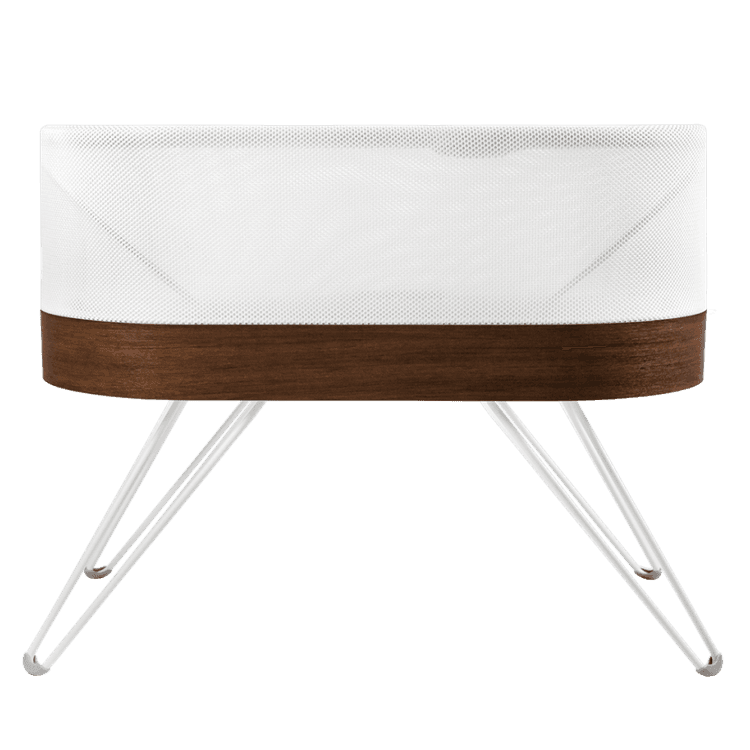
SNOO
Written by
Happiest Baby Staff
SHARE THIS ARTICLE
Bestsellers
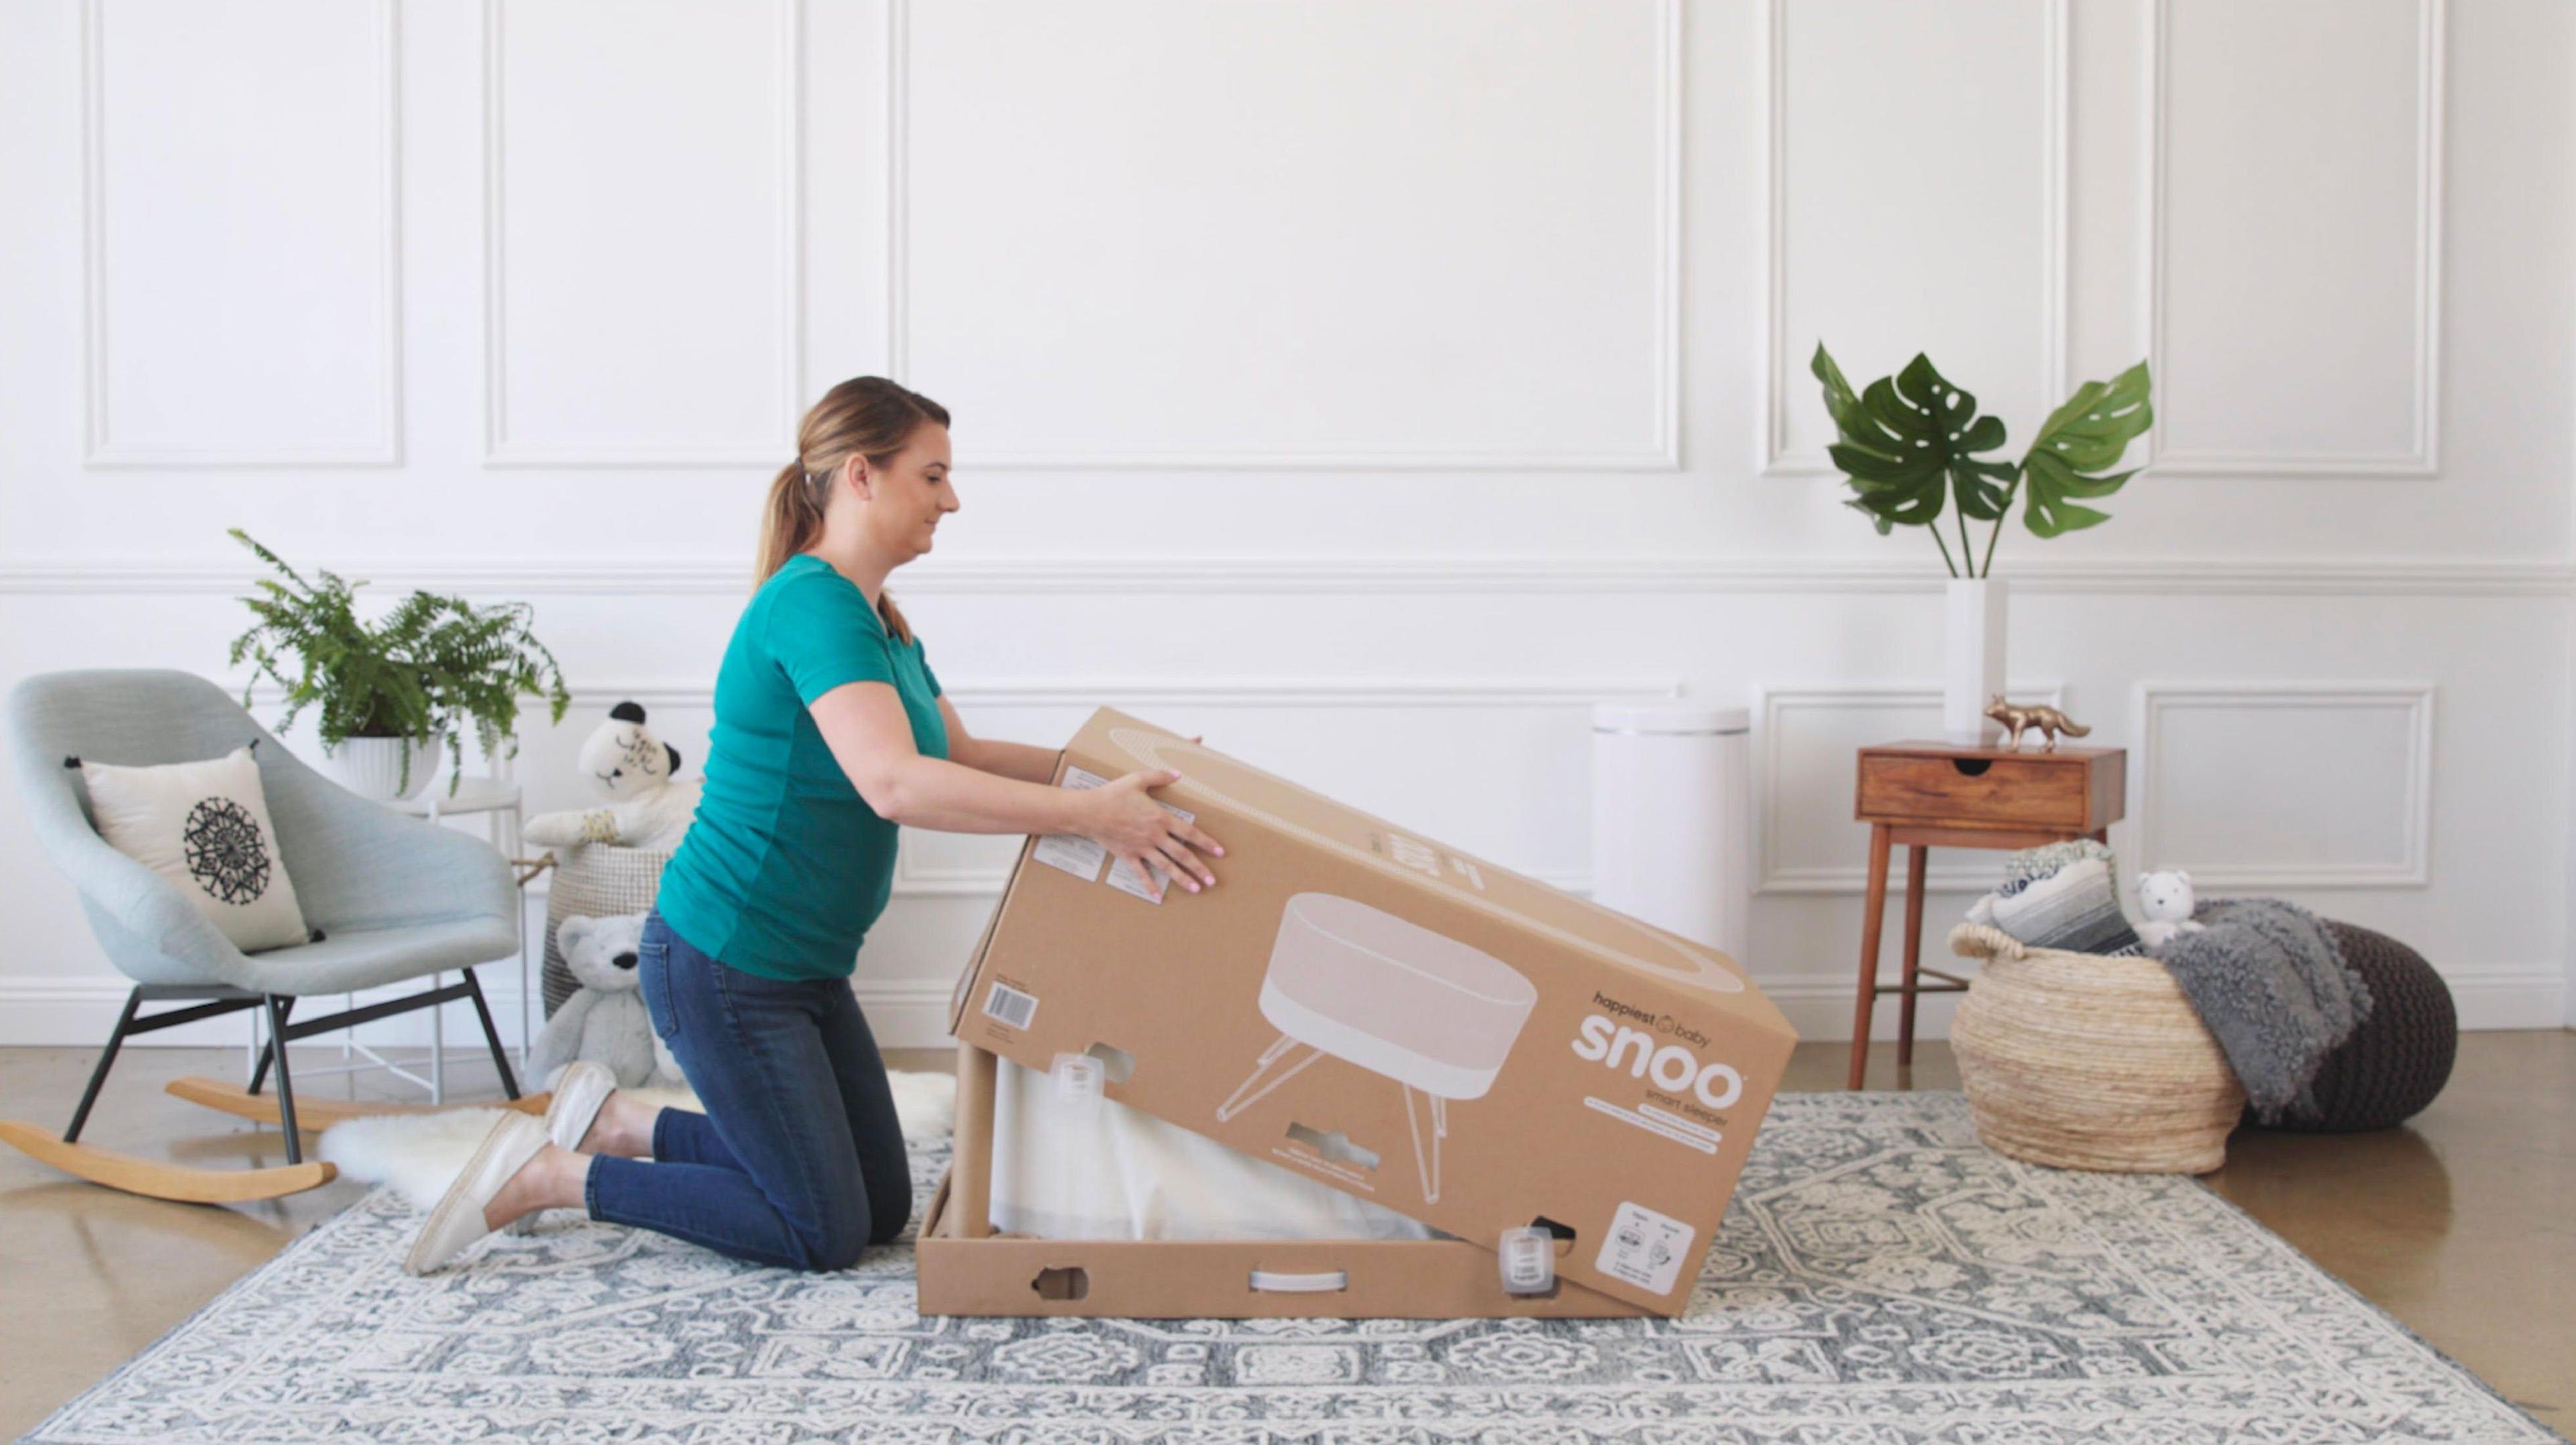
Congratulations on your recent purchase of SNOO! We are so thrilled that you have chosen to have Happiest Baby become a trusted brand in your home. Here are detailed steps for how to unpack and setup SNOO. Let us get started!
Unlock all 4 clips by pinching in and pulling them out. Be sure to keep the tethers attached.
![[object Object]](/_next/image?url=https%3A%2F%2Fcdn.sanity.io%2Fimages%2F301lhh0a%2Fproduction%2F72285904c421139974b51a7d817ea00deb7431c3-600x337.jpg&w=1200&q=75)
![[object Object]](/_next/image?url=https%3A%2F%2Fcdn.sanity.io%2Fimages%2F301lhh0a%2Fproduction%2F9d53f758e2cd0ec4ad3a8b70761bf00f69a8b922-600x337.jpg&w=1200&q=75)
![[object Object]](/_next/image?url=https%3A%2F%2Fcdn.sanity.io%2Fimages%2F301lhh0a%2Fproduction%2F6119d776bfcda29875eb472adab582755af45384-600x337.jpg&w=1200&q=75)
![[object Object]](/_next/image?url=https%3A%2F%2Fcdn.sanity.io%2Fimages%2F301lhh0a%2Fproduction%2F05b090dde203a3cf857161b2c98b295d211244cd-600x337.jpg&w=1200&q=75)
![[object Object]](/_next/image?url=https%3A%2F%2Fcdn.sanity.io%2Fimages%2F301lhh0a%2Fproduction%2F4cdfa8617ed8eb58f74bb11cc98e184a60223717-600x337.jpg&w=1200&q=75)
Remove both pulp trays from the top, set them aside.
Next, remove the support tubes from the sides and place with the pulp trays.
![[object Object]](/_next/image?url=https%3A%2F%2Fcdn.sanity.io%2Fimages%2F301lhh0a%2Fproduction%2Fda29361e83e633f421bc140983aaf7a032a52278-600x337.jpg&w=1200&q=75)
![[object Object]](/_next/image?url=https%3A%2F%2Fcdn.sanity.io%2Fimages%2F301lhh0a%2Fproduction%2F7d2bc93d0cb99a0d51de6afa0ea1218a41f08d40-600x337.jpg&w=1200&q=75)
![[object Object]](/_next/image?url=https%3A%2F%2Fcdn.sanity.io%2Fimages%2F301lhh0a%2Fproduction%2F6e8f0ea8e125d23d9eff536ace9265b9bd6bd0d1-600x337.jpg&w=1200&q=75)
![[object Object]](/_next/image?url=https%3A%2F%2Fcdn.sanity.io%2Fimages%2F301lhh0a%2Fproduction%2F63161c02475d9f2c18759bea2dc36068ad134a79-600x337.jpg&w=1200&q=75)
![[object Object]](/_next/image?url=https%3A%2F%2Fcdn.sanity.io%2Fimages%2F301lhh0a%2Fproduction%2F17aab026ae31f675b9428b0584b681f18f447b92-600x337.jpg&w=1200&q=75)
![[object Object]](/_next/image?url=https%3A%2F%2Fcdn.sanity.io%2Fimages%2F301lhh0a%2Fproduction%2F678b4e50ae2b65998793fedcfae7d489c922ad51-600x337.jpg&w=1200&q=75)
![[object Object]](/_next/image?url=https%3A%2F%2Fcdn.sanity.io%2Fimages%2F301lhh0a%2Fproduction%2F81bae362b7fe5e2bab6ccfe0608e087e7635f4b5-600x337.jpg&w=1200&q=75)
![[object Object]](/_next/image?url=https%3A%2F%2Fcdn.sanity.io%2Fimages%2F301lhh0a%2Fproduction%2Ff81d9fa767a676c6c73c9594fbd9e2f5304961ed-600x337.jpg&w=1200&q=75)
Slide the SNOO out of the carton carefully (you may want to ask for assistance during this step to prevent damage). Place the carton out of the way.
![[object Object]](/_next/image?url=https%3A%2F%2Fcdn.sanity.io%2Fimages%2F301lhh0a%2Fproduction%2F77a08efa6f5d472d41940e80592af11b148b40e8-600x337.jpg&w=1200&q=75)
![[object Object]](/_next/image?url=https%3A%2F%2Fcdn.sanity.io%2Fimages%2F301lhh0a%2Fproduction%2F90cbf9637a18f5dcec1a69302cd39f8bf81b93a3-600x337.jpg&w=1200&q=75)
Now, untie the drawstring of the dust bag, remove it completely from the SNOO and place flat onto the ground.
![[object Object]](/_next/image?url=https%3A%2F%2Fcdn.sanity.io%2Fimages%2F301lhh0a%2Fproduction%2F0ff3f29f4ae65a2354307d7488911d32925d0be1-600x337.jpg&w=1200&q=75)
![[object Object]](/_next/image?url=https%3A%2F%2Fcdn.sanity.io%2Fimages%2F301lhh0a%2Fproduction%2F66db15e6fbc4d5ca0445943740fca7b28e6fa605-600x337.jpg&w=1200&q=75)
![[object Object]](/_next/image?url=https%3A%2F%2Fcdn.sanity.io%2Fimages%2F301lhh0a%2Fproduction%2F582b049a8c3649662131fab3f27c87b4b8a83bb9-600x337.jpg&w=1200&q=75)
Turn SNOO over gently and place it onto the dust bag.
![[object Object]](/_next/image?url=https%3A%2F%2Fcdn.sanity.io%2Fimages%2F301lhh0a%2Fproduction%2F7d3a08275312c416e5a910ec57b978d8096ceb7e-600x337.jpg&w=1200&q=75)
Now you will need the legs. Locate the identifying coloured-arrow on the legs and match them with the corresponding coloured-arrow. The arrows should align, push into the slot to secure until you hear a click. Once secured, turn the knobs until you feel resistance. Repeat until all legs are installed.
![[object Object]](/_next/image?url=https%3A%2F%2Fcdn.sanity.io%2Fimages%2F301lhh0a%2Fproduction%2Fe7de45f8daaf43a70c4e7292ba849db36f50d9a6-600x337.jpg&w=1200&q=75)
![[object Object]](/_next/image?url=https%3A%2F%2Fcdn.sanity.io%2Fimages%2F301lhh0a%2Fproduction%2Fef7d8e74b30050ecc6e3c1f2bfee5ee8b2dd8bbf-600x337.jpg&w=1200&q=75)
![[object Object]](/_next/image?url=https%3A%2F%2Fcdn.sanity.io%2Fimages%2F301lhh0a%2Fproduction%2F59c755f77572d94c3c8b67258d0aa3564d5b7be3-600x337.jpg&w=1200&q=75)
![[object Object]](/_next/image?url=https%3A%2F%2Fcdn.sanity.io%2Fimages%2F301lhh0a%2Fproduction%2F84deaa69f26f273a328052cc4c6244c47bb9a635-600x337.jpg&w=1200&q=75)
![[object Object]](/_next/image?url=https%3A%2F%2Fcdn.sanity.io%2Fimages%2F301lhh0a%2Fproduction%2Fb793eea83bd73d96359d642ca5af0d10bfe0cce2-600x337.jpg&w=1200&q=75)
Now, plug the electrical cable into your outlet. Then take the electrical cable and locate the electrical source in the centre of your SNOO. Plug it into the electrical source.
![[object Object]](/_next/image?url=https%3A%2F%2Fcdn.sanity.io%2Fimages%2F301lhh0a%2Fproduction%2Fcd9d6a706b8f7aa255dc3a266c272a02d8e9e435-600x337.jpg&w=1200&q=75)
First locate the cable holder. Remove it and place it on the leg closest to the electrical outlet that SNOO is plugged in to. Then firmly press the electrical cable into the groove.
![[object Object]](/_next/image?url=https%3A%2F%2Fcdn.sanity.io%2Fimages%2F301lhh0a%2Fproduction%2Ffd5b55808ca28886e32ae96b03d7e46b89d2ad43-600x337.jpg&w=1200&q=75)
![[object Object]](/_next/image?url=https%3A%2F%2Fcdn.sanity.io%2Fimages%2F301lhh0a%2Fproduction%2F81107c45b1aee6cc04cc4948156102a72da0c79a-600x337.jpg&w=1200&q=75)
![[object Object]](/_next/image?url=https%3A%2F%2Fcdn.sanity.io%2Fimages%2F301lhh0a%2Fproduction%2F01dcfbf0090c635998a93a73dfd6027563962105-600x337.jpg&w=1200&q=75)
Now your SNOO is ready for use!
Disclaimer: The information on our site is NOT medical advice for any specific person or condition. It is only meant as general information. If you have any medical questions and concerns about your child or yourself, please contact your health provider. Breastmilk is the best source of nutrition for babies. It is important that, in preparation for and during breastfeeding, mothers eat a healthy, balanced diet. Combined breast- and bottle-feeding in the first weeks of life may reduce the supply of a mother's breastmilk and reversing the decision not to breastfeed is difficult. If you do decide to use infant formula, you should follow instructions carefully.